Goldstream Sew-along: Preparations
Today we cut into our fabric! But, before we go nuts with the scissors, we need to take some precautions:

First, read through the entire instruction booklet. While I don't state this step explicitly within the instructions, this is an important thing to do before you embark on the Peacoat. If you give the instructions a thorough read you will give your brain time to mull the project over and you will prevent mistakes that might have been made due to assumptions.
Next, prepare your paper pattern pieces. If you are working with the tissue pattern you have the option of cutting out the tissue pieces directly as I have done here or tracing them out so you can reuse the pattern in multiple sizes.

If you are working with the PDF pattern you could get it printed on Roll Feed or A0 paper using an online pattern printing service or at your local print shop. Alternatively, you could print the pattern at home (which is what I do). This is a large pattern with many pieces so if you are less than accurate with your taping or dislike the PDF pattern assembly process I highly recommend getting the pattern printed at the print shop! If you want to print at home, follow along with my tutorial. I happen to love the piecing and taping process, it is somewhat meditative for me.

Pre-treat your fabric as you plan to treat your finished jacket. Since most Goldstream Peacoats will be handwashed, drycleaned or spot cleaned only, you should not wash your wool (it will felt!). This blog post details all the ways you could pretreat your wool depending on the type you have chosen. I usually iron my wool with maximum steam.
Your fabric is ready and your pattern is ready - way to go!
Fold your fabric in half with right sides together. Place you pattern pieces on the fabric as illustrated in the cutting layouts. If you have one of our printed patterns, you will notice that the cutting layouts do not allow for prints and napped fabric. These cutting layouts are the most efficient use of the fabric as pattern pieces are puzzled together closely but some are upside down. If you are working with a boiled wool or some other wool that does not have an obvious 'up' or 'down', use these layouts!


If you are working with a print or napped fabric, our revised cutting layouts and fabric requirements allow for this and are included in the PDF pattern. Of course, if you are trying to pattern match, you will still need to purchase extra fabric and adjust the layouts as the scale of every plaid or pattern is different! Find the original cutting layouts above and the revised layouts below.


Once your pattern pieces are cut out, keep the paper pattern pinned to the fabric until you decide on how you will mark all of the details. When working with wool, you could use chalk or traditional tailor's tacks. I explain how to create tailor's tacks in the instruction booklet - here are photos to further illustrate the process.

Create a loose loop of thread through the paper pattern and both fabric pieces.

Carefully pull the pieces apart far enough that you can cut through the threads.

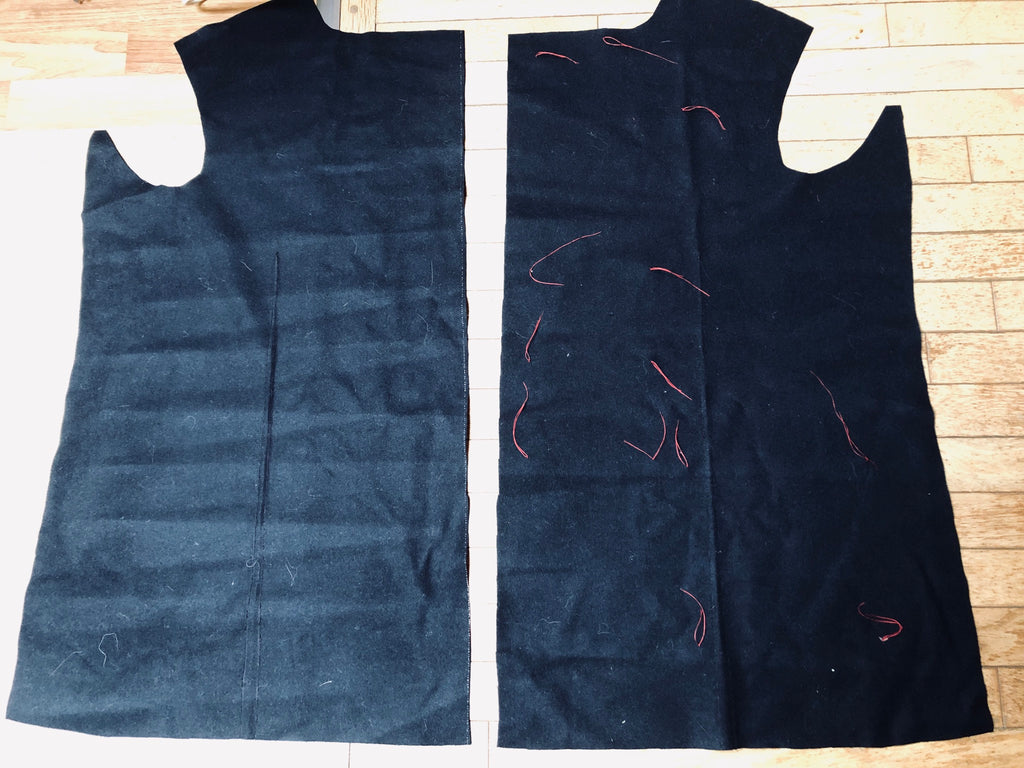
You will be left with a tuft of loose threads on both fabric pieces to precisely mark the pattern details. This is a very quick and accurate way of marking two pieces at once but be careful you don’t accidentally rub the threads off while sewing!
Many of you may be tackling the Goldstream Peacoat in short stints of sewing over a long period of time. You are likely folding up your pieces and stashing them away in a bag between each sewing session. Since your fabric will be handled frequently, I would recommend tailor's tacks or chalk for the markings that will be used early on in the sewing process (the darts, sleeve tab, epaulets and hood for instance) but if you use tailor's tacks or chalk for the pocket and button placement markings, the 1-2" strands of thread may work their way free when the fabric is folded and stored away. Since the button placement, in particular, is so important, you could stitch a full loop of thread and then knot it on the right side of the coat front. This will need to be done to each coat front individually so it is a little more time consuming than tailor’s tacks. The knots are worth it though as there is no chance of the marking being lost or rubbed away and you can simply snip the threads off when you go to apply the buttons.
Now that we've marked all relevant construction details on our fabric pieces, it is time to apply interfacing. Fuse or stitch your interfacing within the seam allowances. Add padstitching on large sewn-in interfacing pieces to further bind the wool to the stabilizer.

Padstitches are simply very long hand sewn basting stitches that do not go all the way through the outer wool so they are not visible on the right side of the garment. They might sound intimidating or tedious but in reality, a basic few stitches like you see above take only a few minutes and really help to adhere the sewn-in interfacing to the wool. Of course, proper tailor's padstitching is far more laborious and serves to help shape the wool to the finished shape of the garment (we will be relying on pressing with an iron and the garment seam lines instead).

Have a look at how few stitches were needed to secure the horsehair canvas to the Peacoat front that my mom sewed. She zigzag machine stitched within the seam allowance and then did very few handstitches. This bit of stitching has kept the canvas secure for years of wear now and my Dad’s Peacoat looks much smoother across the chest than Matt’s worn old one (to be fair, the wool my Mom bought was higher quality than the wool I used for our original sample so that makes a difference too).
Ok, all our fabric pieces are prepared, we will get right to sewing in the next sew-along post!
